We finally broke ground this weekend on my new
craft room studio! (When I say 'broke ground' I really just mean painted. There was no breaking of ground involved, but I've always just loved that phrase. It seems so official and momentous, so that's what I decided to use here. Also, you will notice I am henceforth no longer referring to it as a "craft room" - so pedestrian, isn't it? - but instead I am dubbing it the "studio" because I wanted something a little more mature and professional sounding, but more truthfully because Jason and I are technically sharing the space and when I picture myself accidentally asking him if a video of his was filmed in the "craft room" I can literally see his masculinity vanish before my eyes. So... studio it is. [Also also, when I just typed "henceforth" earlier, all I could think of was Hemsworth - as in Chris Hemsworth or Liam Hemsworth - and I got a little distracted, which is directly to blame for this ridiculously long sentence/parenthetical/scary illustration of the inner-workings of my mind.])
 |
I mean, honestly. How is a girl to write coherently with that in her head?
(Source) |
So where were we? Ah yes, the new studio.
Let me start off by stating vehemently: This is PHASE ONE. It's pretty bare at this point but I promise you guys I have big plans for this tiny room. I literally have a list a mile long of craft projects and DIY art and wall installations and organization fixes and the whole nine. As it turns out though, Rome wasn't built in a day and Rome's craft room
definitely wan't built in a day (or a week, just so we're historically accurate.)
My goals for this weekend were to a) get paint on the walls and b) bring some organization to the clutter that previously existed in that room. We accomplished both I believe and I'll show you the slow transformation because for once I took pictures along the way. Hallelujah!
Let's begin with color.
I had flip-flopped back and forth the past two weeks on what color I wanted the room to be - stark white, soothing turquoise, bright orange. However, as my friend Alli put it perfectly, at the end of the day I am painfully predictable and I can't help but like what I like. So what did I do? I decided to go with my favorite color in the whole world, one I have mentioned here many times: CORAL.
I wanted the studio to be bright, bold, and I wanted it to feel like my place so that I would be constantly inspired when I visited the space. What better way to accomplish all those things than with a bright, cheerful, favorite hue of mine that I never seem to tire of.
So of course, secure in my decision, I confidently strolled into Home Depot with Jason thinking I was going to make a bee line straight for the coral paint when I suddenly remembered,
Oh yea, there are twelve BILLION shades of paint in the universe. The wall of paint chips nearly paralyzed me. It took me two weeks to narrow it down to color family and now I was supposed to choose a shade?!
.JPG) |
| Holy brightness, right? |
So after standing in the aisle and having an internal struggle about what shade would be too bright or too light or too dark or too pink or too orange, I finally came to a conclusion: Behr's Juicy Passionfruit it is! (The top one seen above.) Don't tell Sherwin-Williams though. They used to be my client and I kind of feel like I'm cheating on them. Shhhh....
Now before we move on, there's a catch. If you follow me on Twitter, you may remember the terms and conditions of this new studio. You see, the reason that we turned our perfectly good guest room (perfectly good and perfectly empty, with the exception of ONE guest for almost a year now...) is that Jason needed a second filming location big enough to create a green screen wall. This requires an entire wall covered in green paint. I agreed on the new room's monster makeover under the condition that I finally got the crafting space I had wanted literally for my entire life. So as we continue, try to keep the details of this bargain in mind. Especially when you start to see why I've been referring to the new room as "Club Melon."
Let's first explore the beginning state of the room. I unfortunately didn't have the foresight to take a picture of the room when it was in full on guest mode, but picture a king size bed that was WAY too big for the room, a dresser that had one foot in the Goodwill grave for about two years now, and little to no walking room. Luckily, we were able to sell just about everything in the room on Craigslist (making a surprising amount of cash for a chunk of stuff I probably would have given away) and turned that money right around into the budget for the new studio. (Big shoutout to our Craigslist "dealer" Sean who has pretty much taken care of listing and selling everything for us for a small percentage of the cash. I keep telling him there's a business there.)
As you can see, you've got bluish gray walls, lots of junk in an Ikea shelf, homeless soft box lights, a garage fan (it gets hot upstairs) and... a lovely closet wall to your right making you feel slightly claustrophobic upon entering. Basically, we were only headed up from here.
 |
| I know what you're thinking and yes, that is a full commemorative set of Angry Birds plush toys adorning the top of the shelf. And yes, it is as much fun as you think it is to throw them at people and make Angry Bird noises. |
 |
| Yes, why not put those gorgeous soft box lights in the corner with the only natural light source in the room. Secondly, I'd love to have lunch with the architect that designed our house so that I can ask him to his face what the hell he was thinking when he only put two windows in every room of the house at a random 90 degree angle in one corner. If that was some late 90's trend you thought would catch on, guess what? It didn't. |
 |
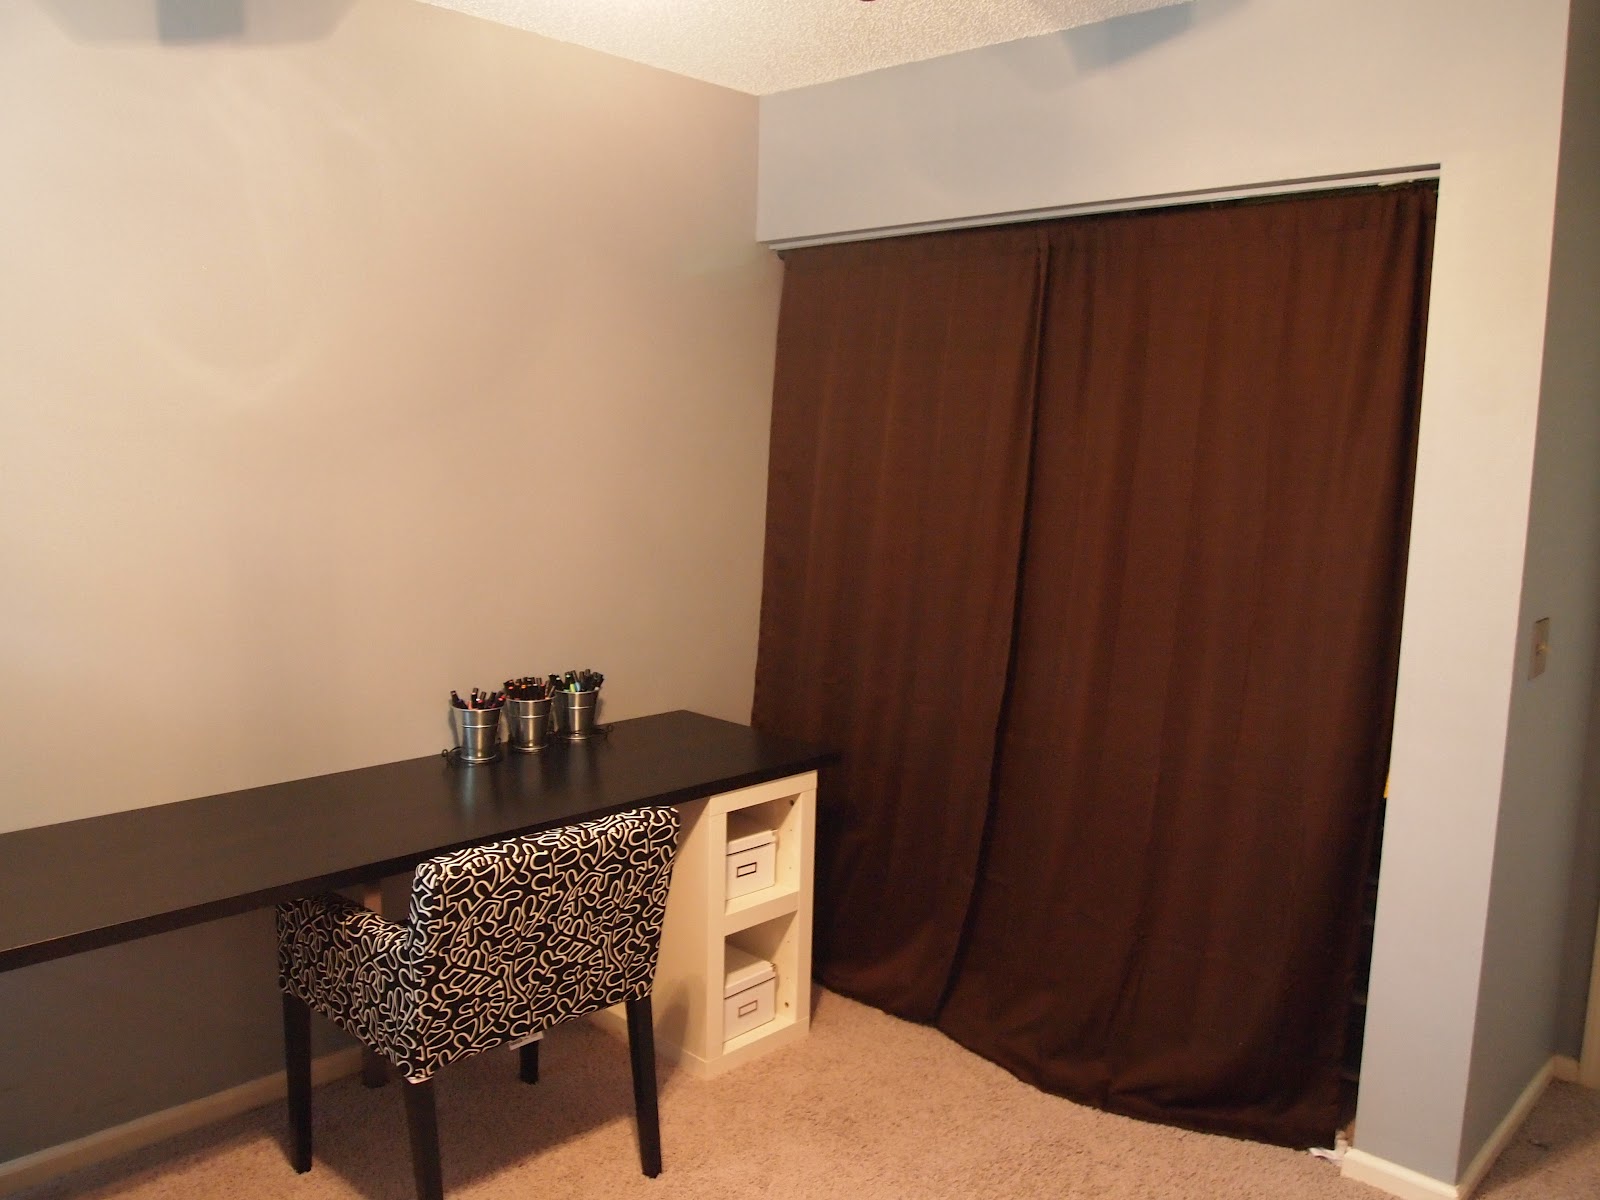
| The desk and chair are new. The brown curtains are clearly NOT. |
First step was moving all of the
crap memories and furniture out of the room. Here at Casa de Sadlergeart, we like to use a little strategy called the "Pile Everything in the Nearest Room" technique. It gives me all kinds of anxiety because it looks like this:
 |
| In case you're wondering if you're crazy for seeing a life-size cutout of my boyfriend riding a social media unicorn, you're not. We call him Jasolcorn. |
Which is frankly pretty impressive since clutter doesn't really bother me. Even sitting in the room to take those pictures I had the undeniable feeling that I was going to get swallowed by something. I felt like I was living in an episode of Hoarders. Which is why I just basically avoided the office all weekend.
After that we needed to prep the room. Lots of blue tape and plastic was involved.
 |
| What this picture doesn't show you is that I taped up the closet by standing on the inside and had all sorts of weird creepy Dexter flashbacks. |
Goodbye, Gray! Sayonara, Somber! See ya later, Loom and Doom...
... And hello, Happiness!
 |
| Peachy keen. |
As you remember, I agreed to relinquish one of the walls to the green screen so we started with my three coral walls. Immediately I felt like the room was alive again. Seeing the color next to the dull gray was a bit shocking because it made it look almost electric. There was a solid twenty minutes where I was terrified I made a big mistake. Although I've come to the conclusion that if you have a freakout mid-painting, that just means you're doing something daring with color which I decided was kind of awesome.
 |
| Couldn't get the lighting just right so the color is just a tad more orangey in all these pictures than it is in person. Still, I love how crazy bright it is! |
 |
| Oh, hey Kim. Only the BEST friend/Jason's sister/free painter on the block. |
 |
| This photo is blurry. The paint color looks like bubble gum. There is no reason for me to include it except for the fact that I think Jasolpants looks so darn cute and focused on painting. |
 |
| My other two corners. Oh, and take note of Plaxico's post there by the door. He wasn't allowed to come in so in true Plax fashion he just decided to set up camp in the closest possible point to the room without actually breaking the rules and coming inside. (Bonus points if you can correctly identify the number of Plaxico's in these photos in the comments. If you guess correctly you will win... well nothing, but I promise to congratulate you!) |
 |
| See what I mean? When they're next to each other the new color looks like it's SHOUTING. |
Speaking of shouting, after we were done with the coral it was time for the dreaded green. Now I say dreaded only because from the very beginning when I fell in love with the paint color and started to see the room come together, I started getting immediately sad that the whole thing was going to be thrown off by this random green wall. I wanted the room to be an inspirational sanctuary and I kind of got all bent out of shape at the fact that it wasn't going to perfectly match my vision. And then Jason kindly reminded me that three walls of a craft room was better than none, and that relationships are all about compromise.
No sir. Uh uh. Relationships are based strictly on beautiful coral craft rooms. I read it in Cosmo. Or saw it on Oprah. Oh I don't care just spare me the green! And once I had that out of my system, I realized he was right. So I decided to go with it and just focus on my side of the room and think about the happiness that this new green screen wall was going to bring Jason. (But truth be told I still huffed and puffed the whole way to enlightenment. Want to know why? Behold, Club Melon:)
 |
| Dear Skittles, if you would like to film your next commercial in our studio, we can be bought. |
Now the funny part is, just when I was coming to grips with the whole bright green ordeal, right before we were about to apply the final coat, Jason realized something: 1) the color was too light and 2) the finish was too reflective which would make it entirely too difficult to edit video against.
 |
| See that reflection of light on the wall? That's bad news bears in the green screen world. |
So... back off to Home Depot we went. At that point it was our fourth trip back to Home Depot and it was 9:45 pm meaning we had to rush across town to the HD on Hodges since ours in Ponte Vedra closes at 7. (Something to do with the average age of PVB residents being 68 and the lack of retired people doing home improvement projects after dark. They don't know what they're missing, clearly.) Lucky me we returned with an ample amount of a surprisingly more offensive shade of green. Although the green did in fact work better with the overall watermelon theme I was beginning to develop, so there's that.

After the coats dried the sheen was much flatter and Jason confirmed that it would be perfect for green screening. A couple times I brought up the idea of covering the entire wall in a sliding white curtain to cover the green, but I could tell my negativity was kind of ruining the experience for him so I just let the whole thing go. The truth is, we were both going to get to use the space and my craft table was actually opposite the green wall meaning that I would rarely even see it. Plus, what can I say, I really am a big fan of watermelon. Maybe the color combo will be good for inspiration, who knows.
Here are the final colors in the daylight. I absolutely love how cheery it is in the day time in there.
 |
| "Mom, take a picture so Dad can green screen me in Hawaii." |
 |
| And now with the shelf moved back in... |
 |
| And my new Ikea craft table and chair. |
 |
| Looks good on ya, Plax. |
The last thing I wanted to accomplish before calling it quits for the weekend was to hang curtains by the window. We removed the old and dusty blinds that were there before and I wanted at least the option to cover the window at night. However, as you might have noticed before, the person who placed the windows in our house was completely dense so the formation is a bit funky - two windows super close together at 90 degrees. I think I'm going to do a separate post on how I hung these because you'd be surprised at the utter lack of help on the internet. Every "tutorial" I found didn't even have pictures and was incredibly hard to follow. For now just enjoy the chaos that is created when Carol attempts to use power tools unsupervised:
 |
| And the finished product! (Okay, okay, Jason stepped in and helped a little. Like I'm going to have a 6'5" boyfriend at my disposal and NOT use him. |
 |
| Added new white curtains to the closet as well and Plaxico thought that was an invitation to play hide and seek. For ten minutes he ran in, stuck his head out, smiled and ran out. Over and over. Hilarious to watch. |
And guess what? We found a place for the homeless soft box lights! My clothes have been in the upstairs closet since our bedroom closet is filled to the brim with Jason's work t-shirts BUT we found a way to move my summer wardrobe downstairs, freeing up some extra storage for the lights. This is the first time in two years these lights have been hidden from plain sight and I could not be more excited. It's more of a hassle for Jason to bring them out each time but secretly I think it was his olive branch for the green wall. And... it worked.
 |
| Studio storage. |
 |
| Reorganized some of the junk and put it neatly back in the shelf. We're ordering some bins to keep things out of sight. Also forgot to mention I hung the curtains high to make the room feel a little bigger. I think it helps! |
 |
| Random score item. Found this key way back in the closet. Jason used it last year to film a video. I think it is awesome and I think I'm going to repaint it silver or black and hang it above the shelf on the wall up there. (Minus the soccer ball, of course.) |
 |
| Lots of plans for this area above my table! Just you wait... |
 |
| Ta-da! |
 |
| These little guys will be something fun too! |
So.. that's it! Phase 1 complete. It was a heck of a weekend but I find myself sneaking upstairs for no reason just to get a peek of it again. I feel so lucky and blessed to have a place to create and be inspired. I can't thank Jason enough for helping me (and Kim!) and for being so genuinely supportive of all my creative endeavors. Can't wait to see what we both create in our new studio, and can't wait to show you guys Phase 2 when I get around to all the ideas I have swirling around in my head!
 |
| So.. you like my new nap room or what? |


.JPG)